Home / Replacing Broken Metal Edges
Replacing Broken Metal Edges
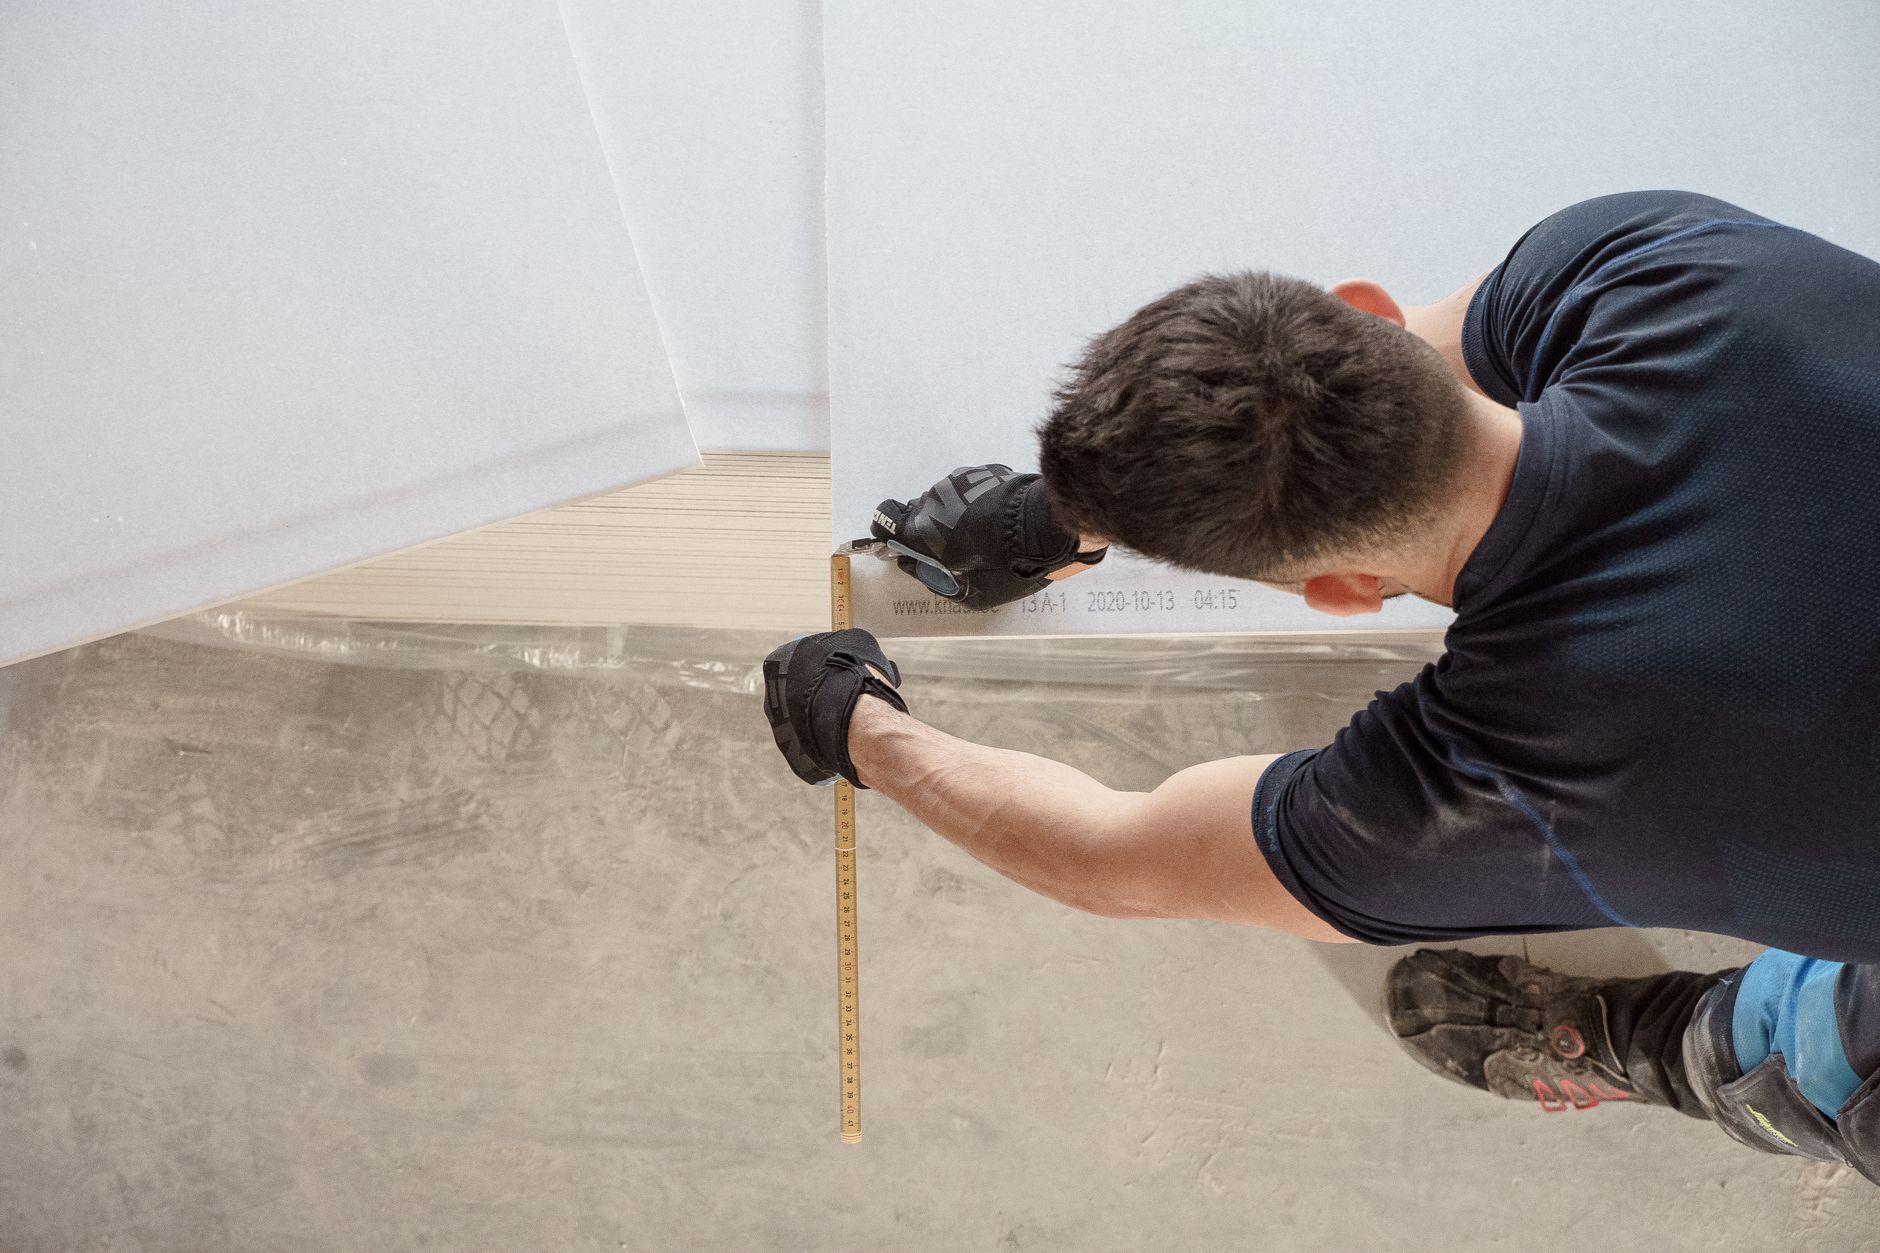
Understanding Metal Corner Bead Damage
Corner beads serve as the structural skeleton for the external corners of walls. These metal strips provide a straight, hard edge that protects the underlying gypsum board from impact. When a corner bead becomes dented, bent, or rusted, the integrity of the entire wall surface is compromised. A damaged edge often leads to cracks in the plaster or drywall finishing, which can expand if the metal underneath is no longer supporting the material correctly.
Common causes of edge damage include furniture bumps, vacuum cleaner impacts, or moisture infiltration. If the metal is corroded, it may indicate a leak or high humidity levels in the wall cavity. Identifying whether the damage is purely cosmetic or structural is the first step in the replacement process. If the metal is bent but still firmly attached, a simple repair might suffice. However, if the metal is detached or heavily crushed, a full replacement is necessary to ensure a smooth finish.
Tools and Materials Needed for Replacement
Preparing the workspace is essential for a clean installation. You will need a variety of manual and power tools to remove the old material and install the new strips. Gather the following items before beginning the project:
- Utility knife with sharp blades
- Flathead screwdriver or a small pry bar
- Hammer
- Drywall saw or a multi tool
- Measuring tape
- Level or a straightedge
- Drywall screws or specialized corner bead nails
- Joint compound and a putty knife
- Sandpaper with fine grit
Step 1: Removing the Damaged Corner Bead
The removal process requires caution to avoid damaging the surrounding wall surface. Start by using a utility knife to score the perimeter of the damaged bead. This cut separates the joint compound from the metal and prevents the surrounding plaster from chipping away in large, irregular chunks. Once the edges are scored, use a small pry bar or a flathead screwdriver to gently lift the metal away from the wall. Work slowly to avoid gouging the gypsum board.
If the corner bead is held in place by nails or screws, these must be extracted first. Use a hammer and a nail set to drive the fasteners slightly deeper into the wall if they cannot be pulled out easily. If the metal is integrated deeply into the wall, you may need to cut out a larger section of the gypsum board. It is often easier to remove a vertical strip of drywall along with the bead to create a clean, flat surface for the new installation. This ensures that the new bead sits flush against a solid substrate.
Step 2: Preparing the Wall Surface
After the old metal is removed, the corner area will likely be uneven. Use a drywall saw to trim away any frayed edges of the gypsum board. The goal is to have a clean, vertical edge where the new bead will sit. Inspect the wooden or metal studs behind the wall to ensure they are stable. If the studs are damaged, they should be repaired before the new bead is installed.
Clean the area thoroughly by removing all dust, loose plaster, and debris. A vacuum or a damp cloth works well for this task. Any lingering dust will prevent the new joint compound from adhering properly to the wall. Once the area is clean and dry, check the verticality of the corner using a level. If the wall is significantly out of plumb, you may need to add additional shims or backing material to ensure the new corner bead remains straight.
Step 3: Installing the New Metal Edge
Select a replacement corner bead that matches the thickness of the existing wall material. Most modern installations use beads with a flared flange designed to sit on top of the drywall surface. Hold the new strip against the corner and use a level to confirm it is perfectly vertical. Once aligned, begin fastening the bead to the wall.
If you are using nails, drive them through the pre-punched holes in the metal flange. Space the fasteners every several inches to prevent the metal from bowing. If you are using screws, ensure they are driven flush with the metal surface. Do not over-tighten the fasteners, as this can cause the metal to dimple or warp. If you had to remove a section of drywall, you must install a new piece of gypsum board alongside the bead to bridge the gap. Secure this new piece to the studs before proceeding to the finishing stage.
Step 4: Finishing and Sanding
The final stage involves hiding the transition between the metal flange and the wall. Apply a layer of joint compound over the edges of the bead using a putty knife. The first coat should cover the flange and extend slightly onto the drywall. Allow this layer to dry completely according to the manufacturer instructions. Once dry, apply a second, wider coat to create a smooth slope from the corner out to the wall surface. This technique, known as feathering, makes the bead nearly invisible.
After the final coat is dry, use fine-grit sandpaper to smooth out any ridges or bumps. Wipe away the sanding dust with a clean cloth. For a professional appearance, you may need to apply a thin layer of primer over the repaired area before painting. This ensures that the paint color remains consistent and the texture of the repair does not show through the finish.